
Necromancer’s Palace Overview
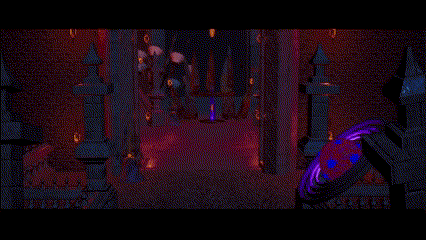
Necromancer’s Palace serves as the concluding stage in Calcium Overdrive, offering players a comprehensive experience that combines all previously learned mechanics. Inspired by gothic architecture featuring elements like Flying Buttresses, High Rib Vaulted Ceilings, and Pointed Arches, the level begins at a deteriorated staircase leading to the grand entrance of a massive palace. Inside, players navigate obstacles and confront enemy barricades. The culmination of the level brings players to the main chambers for the ultimate boss fight against the Milkomancer.
Level Tasks
- Level Pre-Production/Planning
- 2D Maps
- Level Pacing/IPM
- Blockmesh/Blockout
- Cinematics/Level Sequences
- Player Guidance (Leading Lines, Breadcrumbs, Guiding Lighting)
- Boss Fight Alterations
- Enemy Spawning System
- Rising Lava Attack
- Boss Dialogue Feedback
- Multi-path Teleportation Mechanic
- Finalized Asset Implementation
- Environmental Storytelling
Game Engine:
Unreal Engine 5.2
Project Duration:
4 Months
Project Role:
Lead Level Designer
Level Overview

Pre-Production

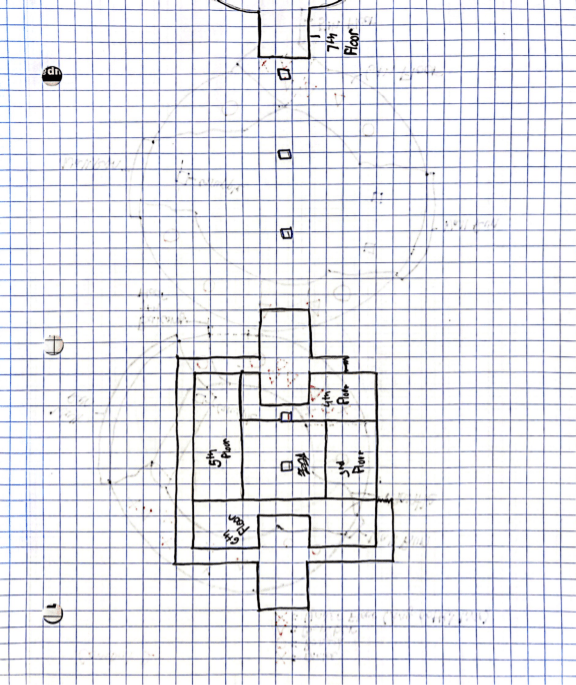


Level Design Analysis
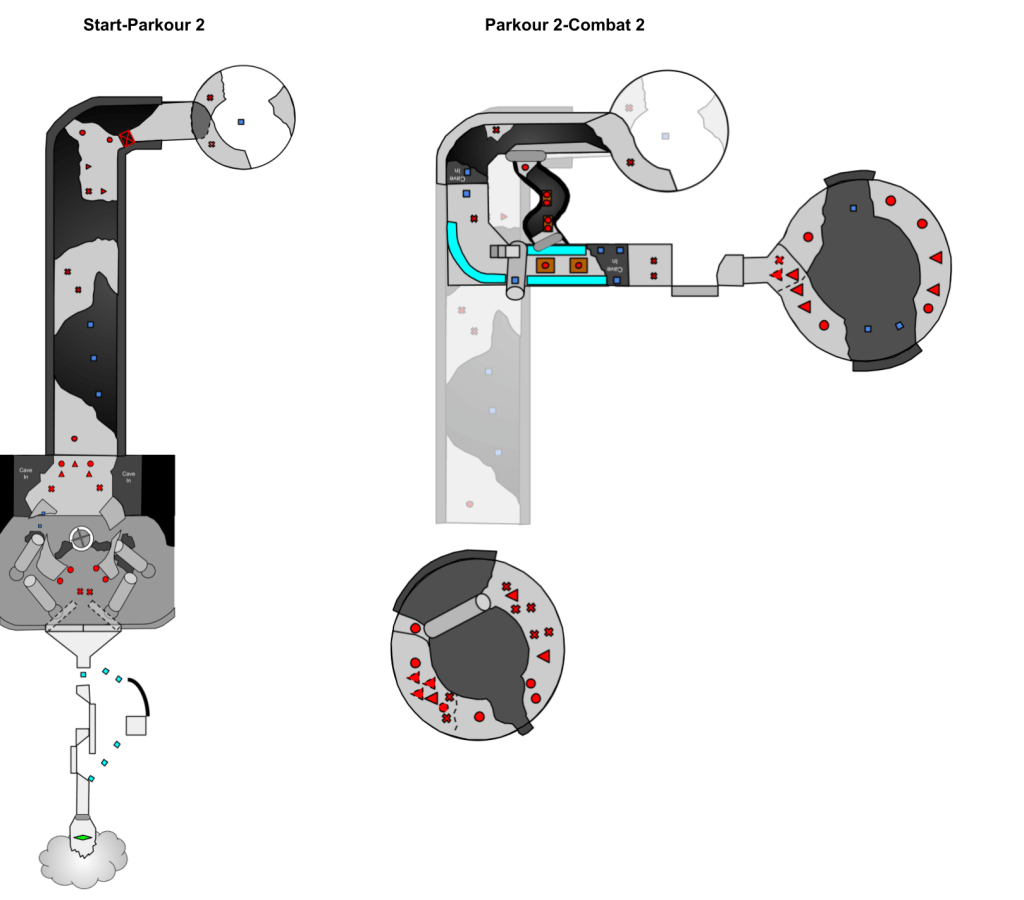
Start
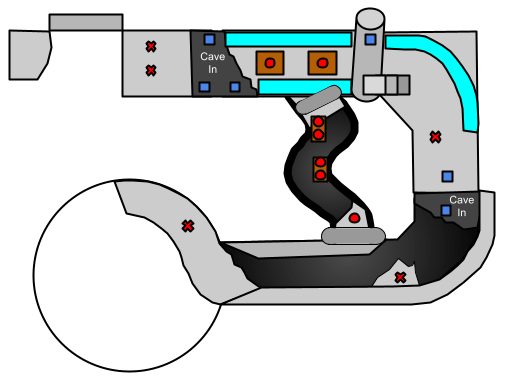
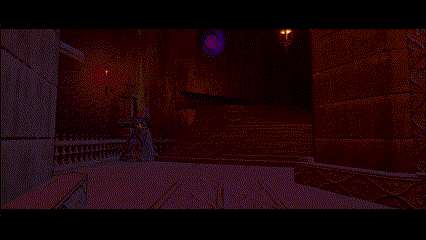
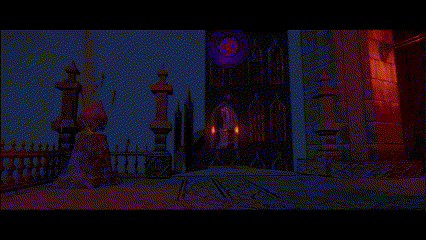
The level begins with the player spawning in front of a portal, facing a broken staircase that guides them to the entrance of a grand Gothic Palace housing the Milkomancer. Beyond the portal lies a broken bridge or walkway adorned with floating railings and scattered debris.

Parkour Section 1
The initial parkour section serves as a warm-up for players to practice parkour while reaching the palace entrance. Leveraging the chained grapple skill introduced in Level 4, I made the Alternative path exclusively accessible through a chained grapple sequence. This path is designed to be more efficient and quicker than the basic path, encouraging players to use this advanced mechanic. The basic path incorporates wall runs and grapple-wall run combinations to hint at the heavier use of these mechanics throughout the level.
Combat 1
The initial combat section serves as the primary resistance upon entering the palace, conveying the sense of a once well-guarded area now deteriorated. To distribute tension, I divided it into three subsections: the first involves low parkour and low-medium combat difficulty, the second has no parkour but medium combat difficulty, and the third combines low-medium parkour and combat difficulty. This structure effectively builds and then begins releasing tension before the refuge area preceding the second parkour section.
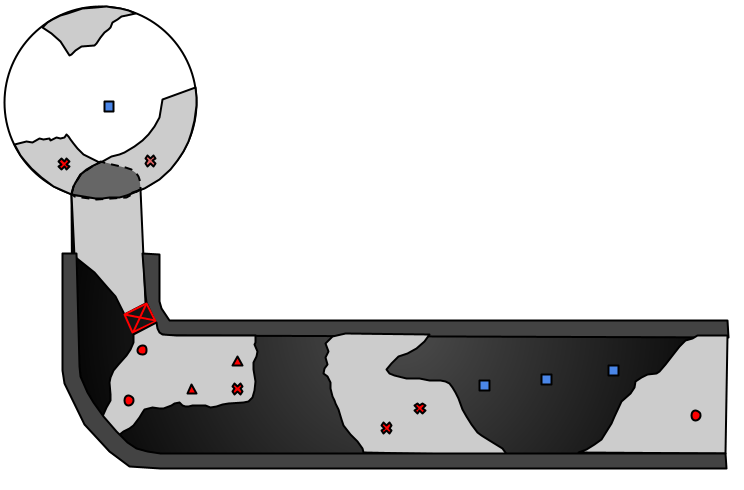
Parkour Section 2
The second parkour section begins in a tower with broken stairs, featuring a visible floating tombstone at the top. To reward players for Summoning Cal, an alternative pathway is available by using Cal’s summoning, and finding a fake ghost wall leading to an alternative Parkour 2 section. This route allows skipping Parkour 2 but demands mastery of a difficult snake wall run sequence. The basic Parkour 2 path navigates through hallways with multiple cave-ins, requiring the use of grapple-to-wall run combinations or chain grapples to progress.
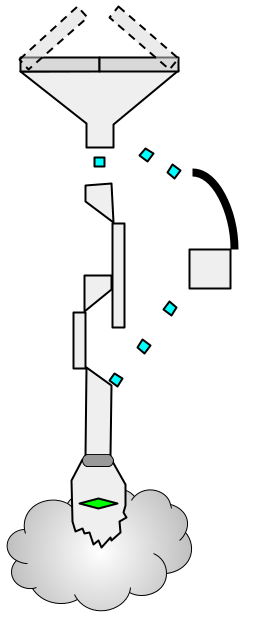
Combat 2
In Combat 2, I aimed to replicate the tower structure with broken stairs seen in Parkour 2. Enemies were strategically positioned throughout the tower, considering the challenging parkour elements. Ranged enemies were placed on the far side of platforms, allowing players to focus on grapple-to-wall run combinations without being targeted. To allow player agency, I introduced two doorways: one leading to the lower section of Parkour 3 and the other to the upper section, creating alternate pathways.

Parkour Section 3
In the last parkour section, I aimed to reduce the tension from Combat 2, providing players with a cinematic experience by utilizing grapples to soar above the palace, moving between towers. To reward those who opt for the upper route, I ensured it’s faster: a windstorm propels players to the final tower’s entrance. In contrast, the lower path involves completing a chained wall run and grapple obstacle before reaching the same point.
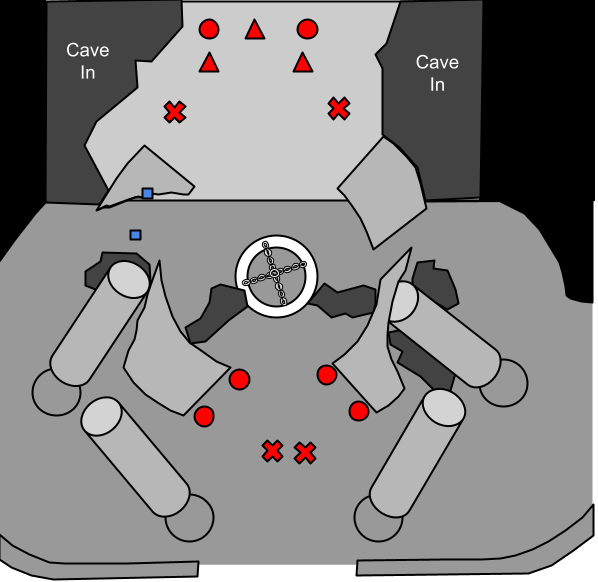
Final Boss Fight
The initial final boss fight was repetitive, with a single path for the boss circling the room until either the player or boss perished. Due to the room’s size, it was challenging for players to track the boss. To resolve these issues I made multiple revisions to the boss fight logic.
- Teleporting Boss – I employed portal VFX and developed logic for the boss to randomly navigate among various pathways in the level, creating the illusion of teleportation to evade the player, instead of using a repetitive loop.
- Boss Spawns Enemies – The boss’s teleportation created compelling gameplay but didn’t prompt player movement. To address this, I used enemy spawner logic, tying spawned enemies to the boss’s health. Defeating enemies would now decrease the boss’s health.
- Lava Attack – While the boss spawning enemies enhanced the fight, it failed to encourage players to engage with the second level and apply their parkour skills. To overcome this, I introduced a lava attack triggered randomly after the boss attacked the player. The rising lava would damage the player if they stood in it, significantly altering player movement choices.
- Boss Marker & Grapple Points – The boss fight became engaging, encouraging players to utilize the entire area. However, there were issues with locating the boss and transitioning between upper and lower sections. To address this, I introduced a camera-facing sprite as a marker on the boss at the fight’s start. Additionally, I placed grapple points in the four walkway gaps, enabling faster and more flexible movement between sections.
These modifications enhanced the boss fight, enabling players to freely apply their parkour skills to defeat the boss.


Cinematics
For the final level’s conclusion, I crafted a cinematic sequence intertwining key game elements as a quirky, humorous reward for players reaching this far, defeating the Milkomancer, and finishing the game. To enhance immersion, I integrated portal VFX: defeating the Milkomancer triggers a time dilation effect, spawning a portal. Upon entering the portal there is a gradual screen fade to black, seamlessly transitioning into the final cutscene for a cohesive and immersive conclusion.
